Pretend that this is the bottom of the sweater. The live stitches have just been placed back on the needles. You are going to start working the edging on that inner left corner (it's the needle with stitches going to the tip).
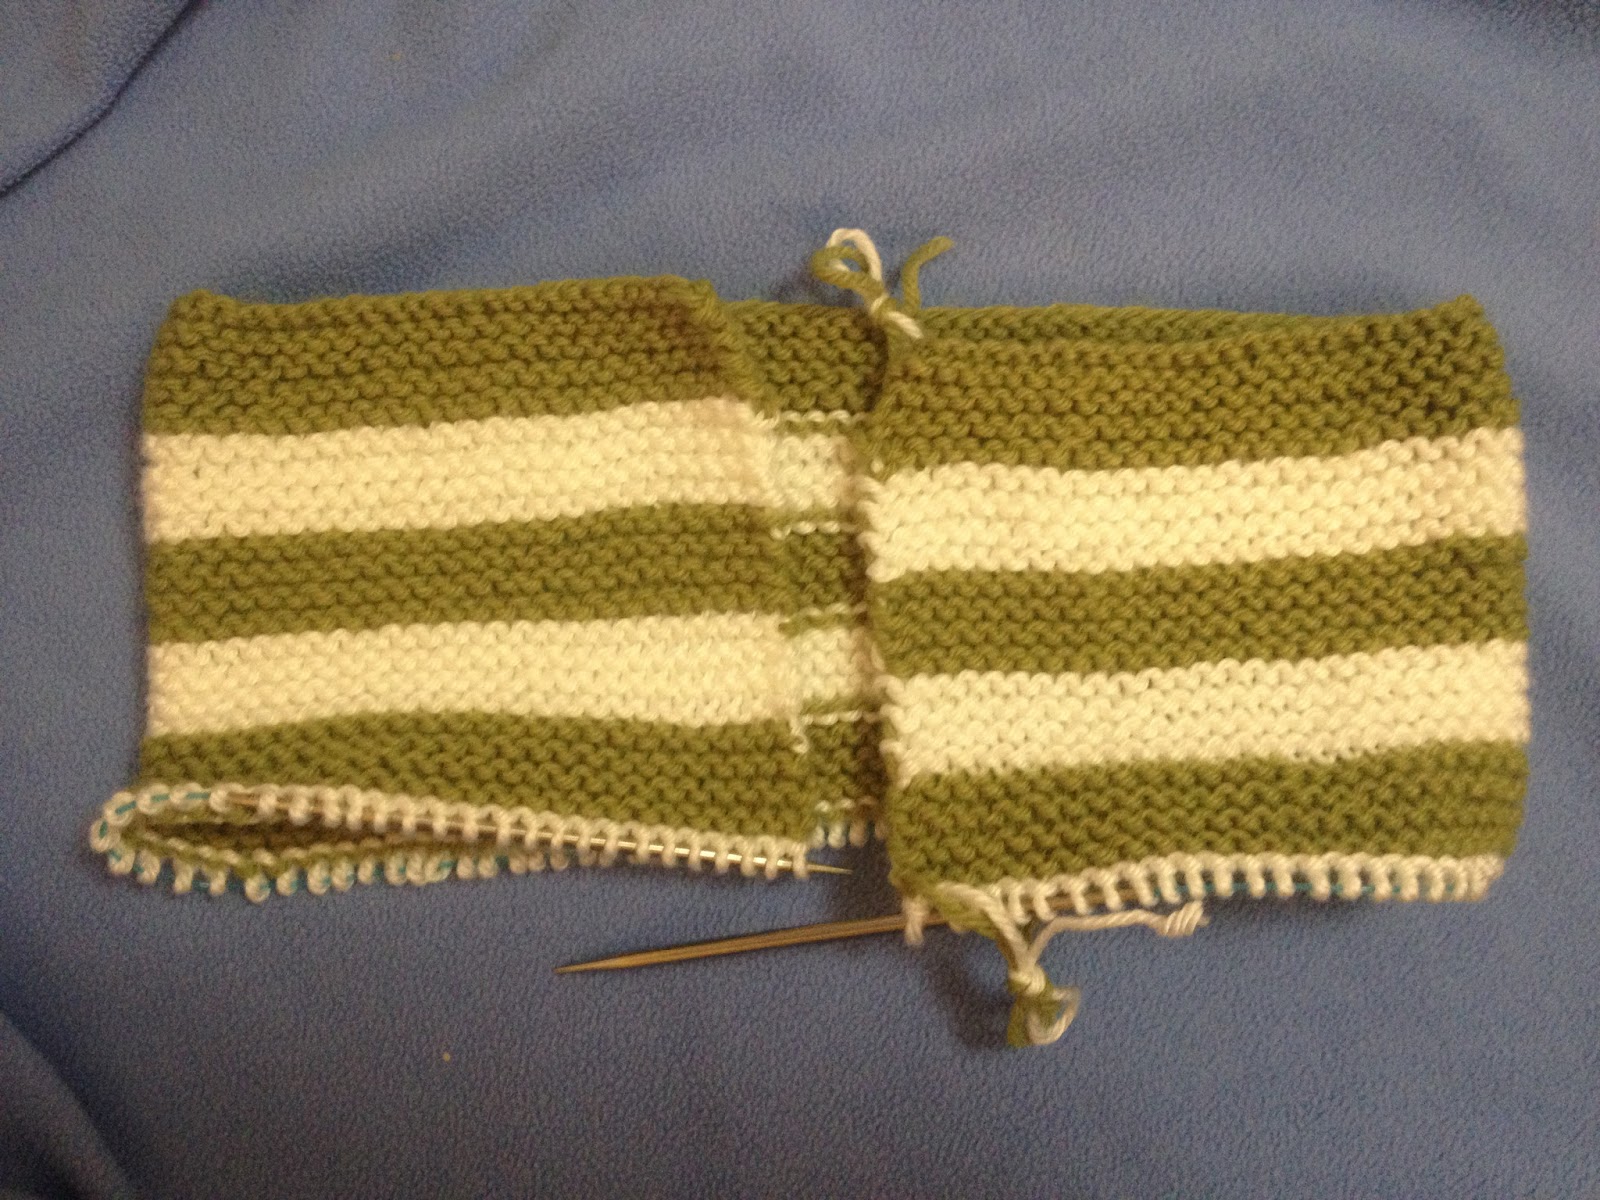
To cast on, flip the work around so the live stitches are at the top and you are facing the right side (aka outside) of the sweater. The needle you will be adding the cast on stitches to is still the left needle.

Push the live stitches back and provisionally cast on the 14 stitches right next to the live stitches.

Now turn the work and work row 1 of the Edging Chart, which is a wrong side row. The last stitch of all wrong sided rows is a p2tog. For the hem, the second stitch comes from the live stitches. For the rest of the edging, the second stitch comes from the garter stitch ridge.

Keep on working the chart until you get to a corner. When I did this for the sample, I used DPNs instead of circular needles since they are much easier to manipulate after you turn the corner. For the hem, I would place about 10-15 stitches onto the needle from the waste yarn at a time. The rest, I slid on about the same number of garter ridges.
No comments:
Post a Comment